How to Sell on Amazon for Beginners Using FBA: A Step by Step Guide
So you want to sell on Amazon, but don’t know where to start. I’ve been there. I had a few old video games that I wanted to get rid of, and I thought Amazon was the perfect place to sell them.
To help others who want to start selling on Amazon, I’ve documented step-by-step the process I took to sell my first items through Amazon FBA.
In sticking to simplicity I’m calling this guide, “How to Sell on Amazon for Beginners Using FBA: A Step-by-Step Guide”. While this guide is tailored to selling using FBA, you can sell and ship the items yourself. However, I found the convenience factor of FBA too great to overlook.
What is Amazon FBA and why should I use it?
Amazon is famous for their free 2-day shipping through Amazon Prime. It’s one of the main reasons people shop on the marketplace. Free 2-day shipping is now the standard for all online sellers.
Wouldn’t it be great if you could offer free 2-day shipping on the items you sell? Good news, you can!
That’s the reason you use Amazon FBA. With Amazon FBA, you simply ship your items to an Amazon warehouse and they take care of the rest for you. So, if you ship them one box with 25 items you want to sell, Amazon will pick, pack and ship each of those items for you as they are sold.
For many, Amazon FBA is a smart and cost-effective way to ship your items. While you pay a fee for this service, you’re providing customers industry-leading logistics to ensure their package arrives on-time.
How to Sell on Amazon for Beginners Using FBA (Fulfillment by Amazon)
In this guide, I’ll take you through the entire process of selling on Amazon. Not only that, I’m going to show you how I took these same exact steps to sell my first few items using Fulfillment by Amazon.
Step 1: How to Create an Amazon Seller Account
First, you need to create an Amazon Seller account if you don’t already have one. You can create one on this page here.
Be sure to read the “Before Your Register” section on the webpage. It provides info about the two types of Amazon Seller accounts, Professional and Individual.
Don’t know which account type to use? The answer is simple: if you’re going to sell more than 40 items a month, use a Professional account; otherwise, select an Individual account.

Be sure to read the “Before You Register” content to understand what type of Amazon selling plan you want to create.
Why is 40 items the cut off point? Amazon will charge you $0.99 per item when selling on an Individual account. So, if you’re going to sell 40 items a month, you might as well pay for the $40 a month Professional account.
In my case, I was only selling a few items, so I chose an Individual account.
Once you choose your account type, you’ll be asked to login or create an Amazon account using your preferred email. From then on you will need to provide:
- Business Name and Address
- Agree to Seller agreement
- Mobile or Telephone Number
- Billing Method/Deposit – Chargeable Credit Card for Professional Account
- Tax information – If signing up for Professional Account
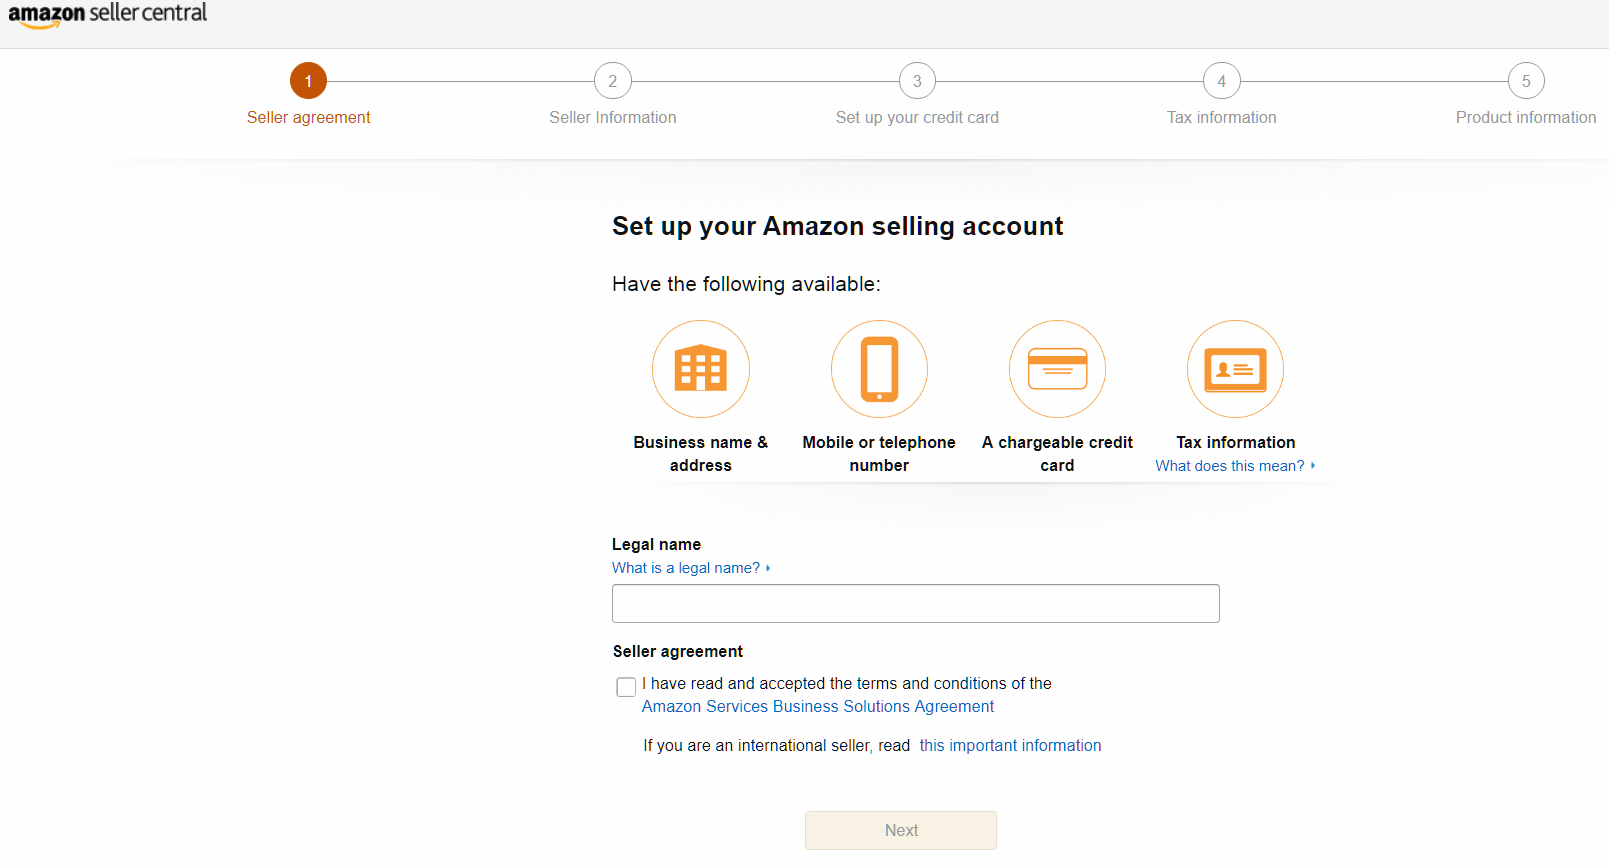
These are the steps you must take to create a Amazon Seller account.
For your seller information, you’ll need to provide your name and address, as well as a “Display name”. This will be the name buyers see next to the item you’re selling. It can be anything you want, but remember it’s public. I chose “BilboBaggins50” because I was selling some old Lord of the Rings video games.
Next, you must verify your identity through a phone call or text message.
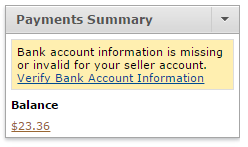
Lastly, enter your credit card and bank information for deposits. You’ll need access to your 9-digit routing and bank account number.
Your account is now created! Now, you should be greeted with a home screen that looks fairly empty.
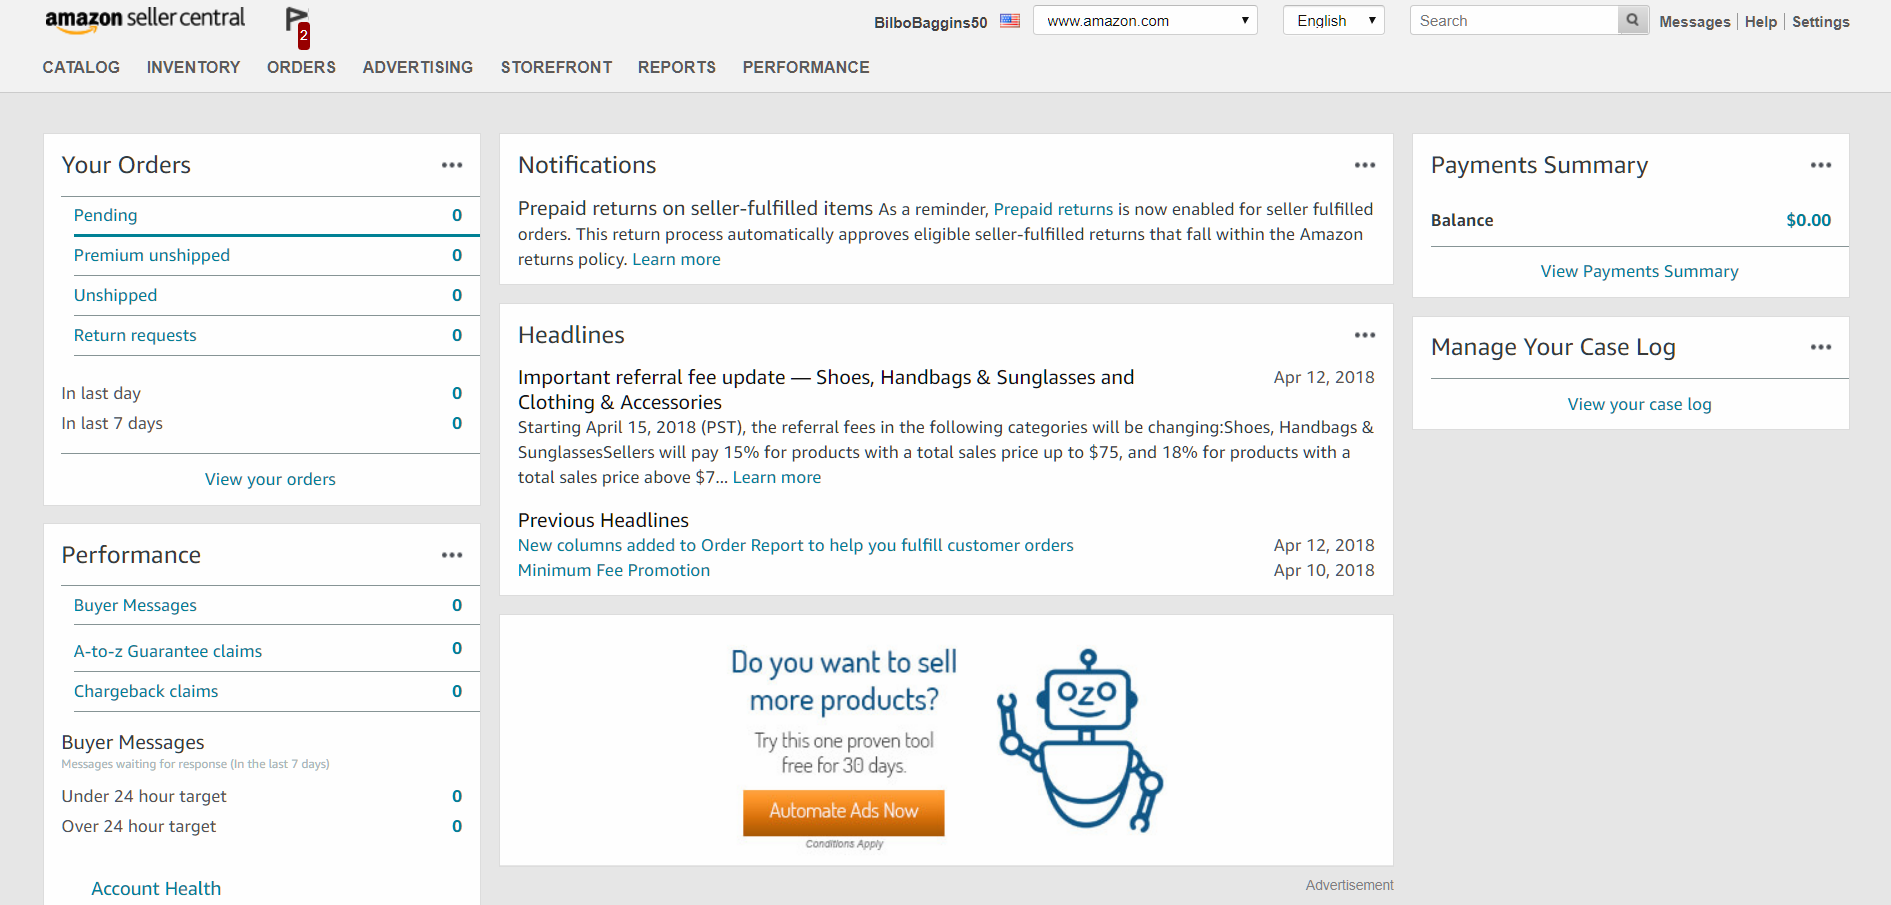
This is my very empty Amazon Seller Central homepage.
Step 2: How to List Your Items on Amazon
Once you have your account, you need to list the items you want to sell.
For some people, we may be skipping a crucial step – choosing what items to sell. However, for this tutorial, I’m going to assume you’ve already done this. If you don’t know what to sell first, simply find some items around your house you want to get rid of (that’s what I did).
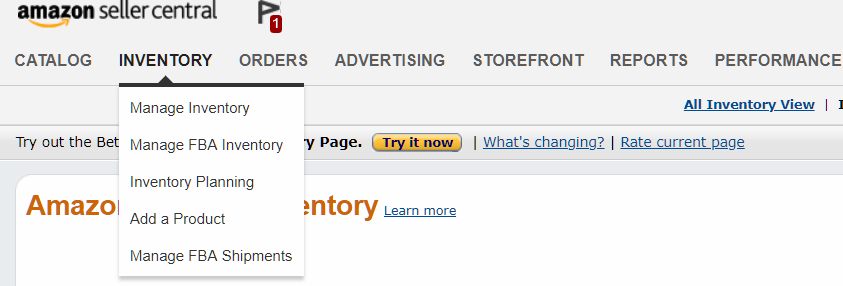
To add your first product, you want to go to “Inventory” in the top of your screen and click “Add a Product”.
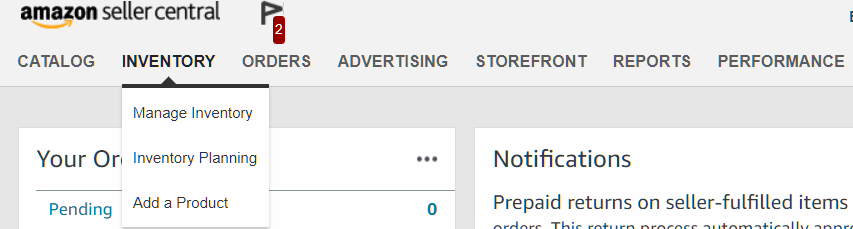
Here’s where you will find the “Add a Product” button.
Once you click “Add a Product” you will be prompted to search for your product. I searched by barcode, however you can also search by the product name. Unless you’re selling an item you manufactured (which I’m assuming you’re not), you shouldn’t need to create a new product.
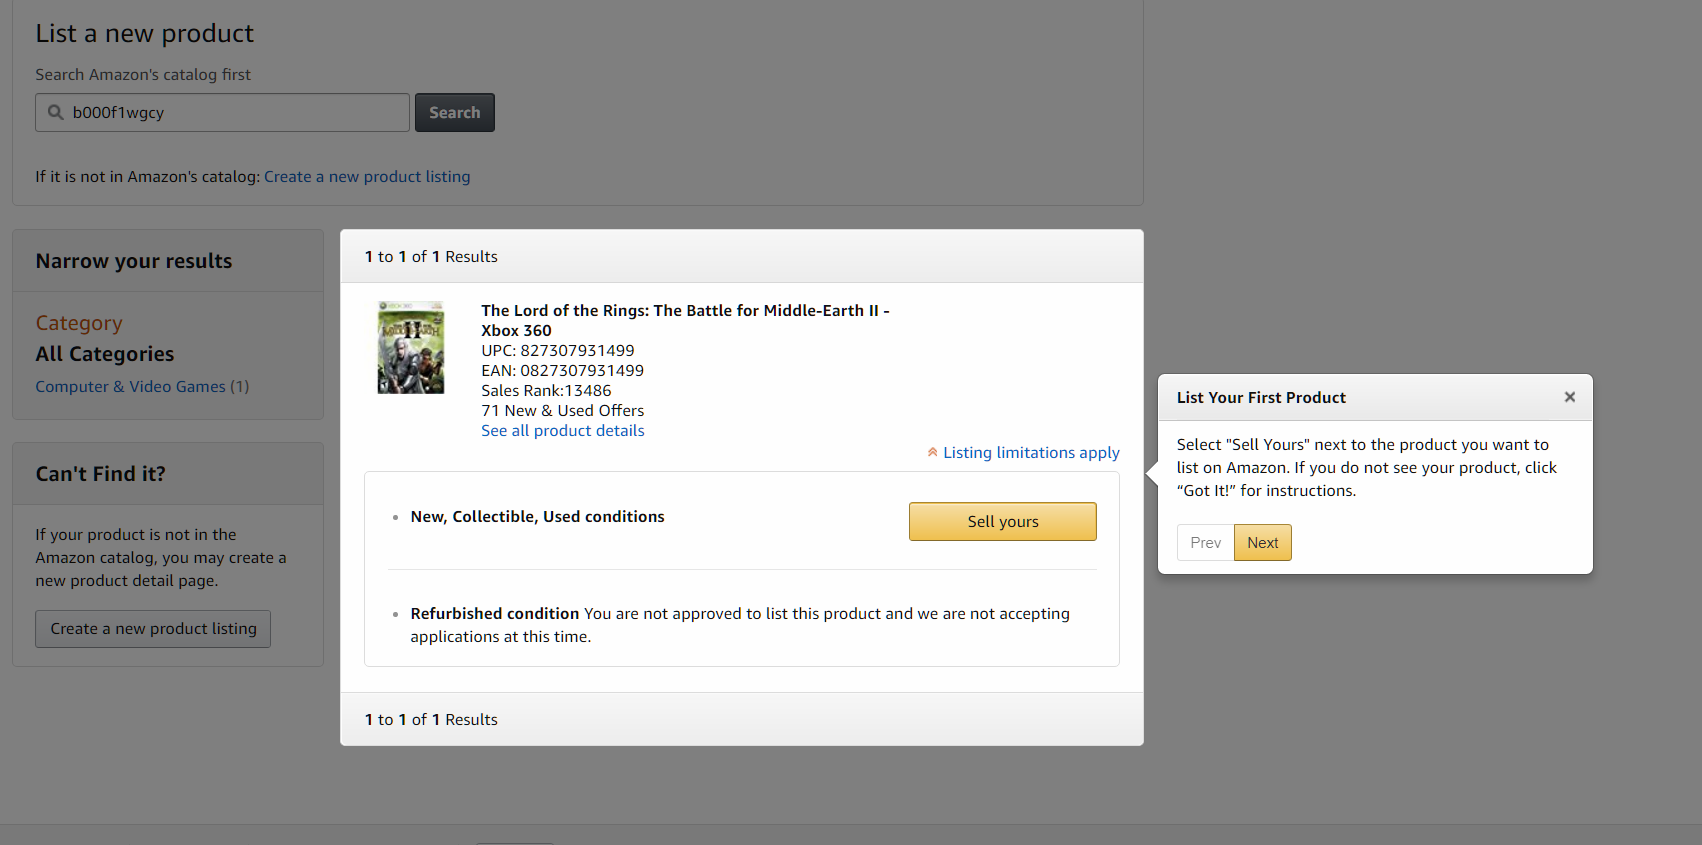
Yes, I’m selling my old video games on Amazon.
Once you select your product, you’ll be taken to a screen to enter important product information. There are three main things you must enter.
- The price you want to sell your item for
- What condition your item is in
- Whether you want Amazon to ship the item or you want to ship it yourself
You can also check out Amazon product listing optimization best practices and learn more about what an Amazon ASIN number is.
For pricing, you choose what you feel comfortable selling your item at. Personally, I searched for the item on Amazon, looked at the used items that were eligible for free shipping, and priced my item slightly lower than the lowest price available. I wanted to make sure that I sold my games quickly.
For the condition, be as honest and descriptive as you can. All you are required to enter for the condition is a selection of “Acceptable”, “Good”, etc. However, you’ll be much more likely to sell it if you offer an additional description. Is your game missing the manual, but has the cover? Mention it. Is the book a library book you bought? Add this info too.
Don’t list an item at a better condition than it is. You won’t get away with it. If a customer expects a “like-new” book, they won’t accept one with tears and highlighting and they’ll request a refund. If you aren’t honest, customers will leave negative reviews, which will make it very hard for you to sell in the future.
Lastly, you want to make sure you select “I want Amazon to ship and provide customer service for my items if they sell.” This is essentially the “I want to use FBA option”.

Here’s the check box that you need to make sure you check.
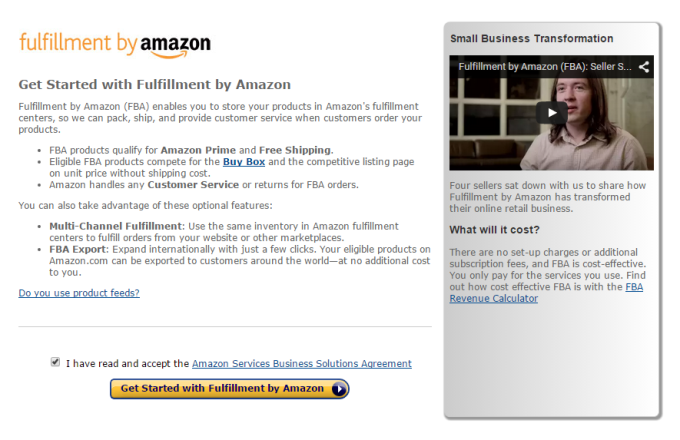
If you made sure to select that check box, and this is your first time selling on Amazon using FBA, Amazon will send you to a registration screen. Simply read and accept the terms of service here.
Step 3: How to Convert Your Items to Fulfillment by Amazon Items
I know what you’re thinking, “Why do I need to convert my items to FBA items if I just selected them to be fulfilled by Amazon?”. This just gives you the option to use Amazon FBA. You don’t have to use FBA for every item you sell. There are some items that can’t be shipped through Amazon FBA either. Therefore, you need to go into your account and manually select which items you want to fulfill through Amazon FBA.
To do this, go to the “Inventory” tab in your Seller Central homepage and click “Manage Inventory”. From here you’ll want to select the “Actions” drop down for each produce and select “Change to Fulfilled by Amazon”.
Please note: Once converted, your listings will be temporarily removed from Amazon.com until the inventory has been received at Amazon’s fulfillment center. So, you must finish the entire process to list and sell your items through Amazon FBA.

Select “Change to Fulfilled by Amazon” the third option from the top.
Once you change your inventory to Fulfilled by Amazon, you’ll be asked about two preferences:
- FBA Label Service
- Stickerless, Commingled Inventory
If you’re selling new items, you can use stickerless, commingled inventory. This means that Amazon will commingle your inventory with other sellers’ matching units. If someone orders from you, Amazon might ship a matching unit that is actually from a different seller, but in warehouse closer to the customer. This allows Amazon to ship items faster for better customer service.
(If you’re choosing commingled inventory, please be aware of the risks. If another seller sells counterfeit products, they could be shipped in lieu of your authentic products before Amazon notices.)
In my case, I accepted this because I was not selling anything new.
Of the two, FBA Label Service was much more important to me. With their Label Service, Amazon puts a label (think white product sticker) on your items for you, instead of you doing it yourself.
I accepted the label service because I didn’t want to print out my own stickers. It was only 20 cents per item to have Amazon label my items. That being said, if you want to keep your margins high, you may consider printing your own stickers and labeling your products.
Once you select your options, you’ll be prompted to either “Convert Only” or “Convert & Send Inventory”. If you’re only selling one item, go ahead and select “Convert & Send Inventory”. If not, select “Convert Only” so we can add more items before we set up shipping.
Your item should now appear in your “Amazon-Fulfilled Inventory” under “Manage FBA Inventory” after viewing main “Inventory” tab in Seller Central.
Here’s where to find your “Manage FBA Inventory” after enabling Amazon FBA.
Step 4: How To Create an Amazon FBA Shipping Plan
If you selected “Convert & Send Inventory” or if you have just added your second item, you will be prompted to create a shipping plan. For this you’ll need your Ship from address (most likely your house address) and your packing type.
There are two packing types: “Individual products” and “Case-packed products”. Most likely you’ll be selecting “Individual products”. Only select “Case-packed products” if you’re sending a box with all the same exact type of item in it. For example, a box of 20 Anchorman DVDs.
Once you set up a shipping plan, you will be prompted to add your items. Assuming this is the second item you’ve added, you should see two items. Select both.
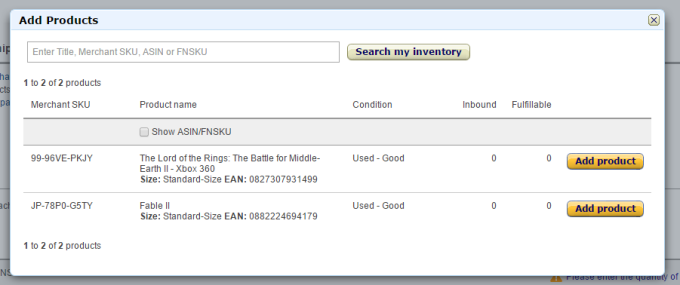
Here were my two items I could add.
Once you’ve created a shipping plan, you can add all the items you wish to sell. Simply go through the same process you went through for the first two items, however, when you get to the end select “Add to an existing shipping plan” rather than “Create a new shipping plan”.
Step 5: How to Ship Your Products to Amazon for FBA
Now that you have all your items in your shipping plan, it’s time to finally ship your items. To do this go to “Inventory” -> “Manage FBA Shipments” and then click “Continue with shipping plan”.
From here enter how many units of each item you’re sending. Then if your item requires prep (most don’t) select whether you or Amazon will prep them. Lastly, select whether you or Amazon will label the product.
Once you approve your shipment, you can purchase shipping from Amazon. You just need to know how much your package weighs. You can either put it on a bathroom scale, or (as I did) just estimate based on the items inside the package.
Once you print out your labels, stick them on your package and they’re ready to mail! Just drop them off at your local UPS.

Here’s my shipment box. Yes that is a shoe-box. Also pictured, my desk plants.
Step 6: How to Sell Your First Item on Amazon
This is the easy part. Once you ship your package off to Amazon and they receive it, your items will be available for purchase.
Now, you sit and wait for your items to be sold.
If you are selling a more popular item, the wait isn’t that long. In my case, I listed 8 items, and they all sold within 15 days.
Pro tip – video games sell fast! Check out other top tips for selling on Amazon, how to win the Amazon buy box, and what Amazon selling mistakes to avoid.
So it’s not too much, but it’s more than nothing.
What to Do Next
Congratulations! Hopefully you’ve either sold your first item or have at least listed your first item on Amazon.
If you haven’t made the plunge yet, but are still curious about Amazon FBA, check out our blog posts “Is Fulfillment by Amazon (FBA) Worth the Cost?” and “FBA Alternatives.”
Otherwise, if you have any questions or comments I would be happy to answer them in the comment section below.
Then, once you’re ready, learn how to connect Amazon and Amazon FBA to the rest of your business systems with multichannel integration!